Friday, July 8, 2011

Sweet Potato Fries

This past week, on their way to the beach, my parents decided to stop at a little roadside produce stand where they bought peaches, cantaloupe, and a big brown paper bag full of sweet potatoes. I decided that since we some sweet potatoes to spare, I would try a new side to go with my Meyer lemon and dill fish parcels that I was making. I settled on the sweet potato fries recipe that I found in the latest issue of GreenWise.

Cast of Characters:

  • Sweet potatoes
  • Salt
  • Pepper
  • Ground cumin
  • Paprika
  • Chili powder
  • Cooking spray
Directions:
  1. Preheat oven to 425 degrees.
  2. Cut potatoes lengthwise into quarters and then cut each quarter into thirds. (Anyone else feel like this is a 3rd grade math lesson?)
  3. Spray a cookie sheet with the cooking spray and then spread out potato wedges. Wedges shouldn't be overlapping.
  4. Sprinkle wedges evenly with salt, pepper, ground cumin, paprika, and chili powder.
  5. Bake for 18-20 minutes or until soft.
Play around with trying some different seasonings. Let me know if you come up with a new combination.

Thursday, July 7, 2011

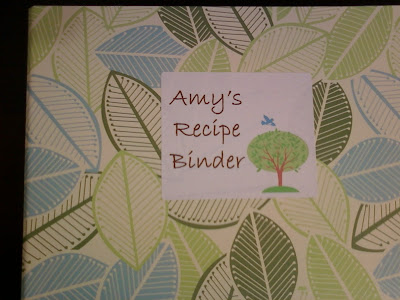
Recipe Binder


I know I usually use my blog to share recipes, but this was such a fabulous idea that I couldn't help but share! (I mean, it's still sorta related.) I was poking around on my sister's FABULOUS blog one day and came across her entry about making a Recipe Binder.


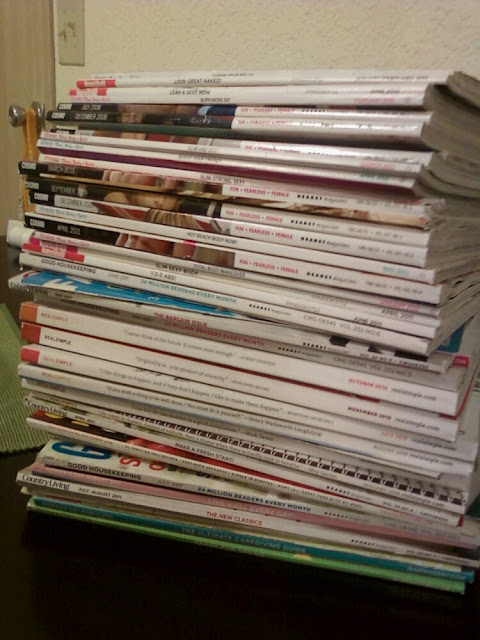
If you're like me, you probably have a million magazines here, there, and everywhere. They don't get thrown away (or recycled) because they contain recipes that someday you might actually want to make. The problem is, you never remember you have those recipes or you cannot find them because there are too many magazines to search through. And that's where this handy bit of organization comes in!

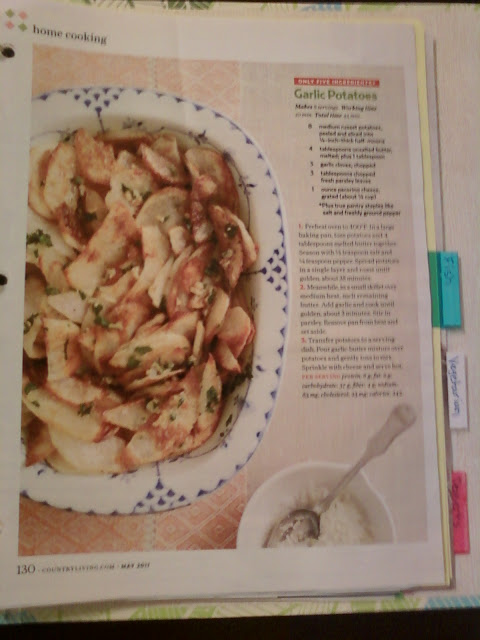
I went through every single one of my magazines and neatly tore out the recipes that I would like to try someday.

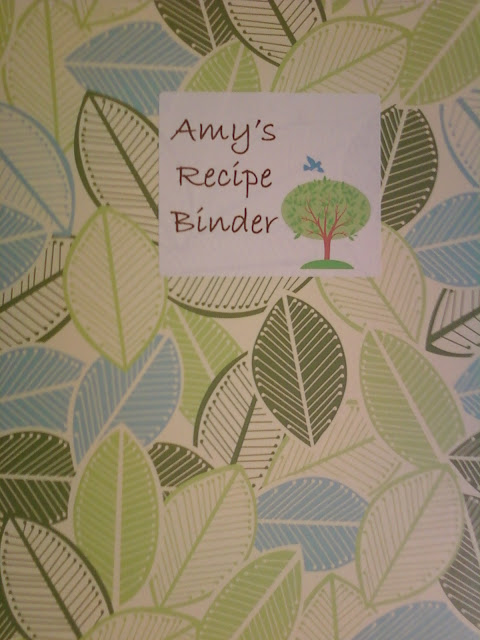
I found the cutest binder at Target that is made by a company called Greenroom (you should check them out!). I also bought some simple dividers and labeled each (appetizers & snacks, sides, seafood, vegetarian, and desserts & baked goods). I then neatly trimmed up the ragged edges of my magazine pages, used a 3-hole-punch, and placed them in their assigned category.


Now my giant stack of magazines is being divided between my classroom to be turned into collages, and the recycling center.


If you make one of these, let me know how it turns out! Emily always has great organization ideas!

Tuesday, July 5, 2011

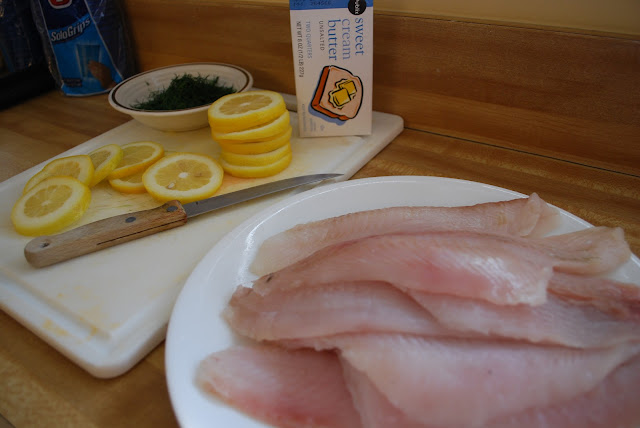
Meyer Lemon and Dill Fish Parcels


For this month's Cookbook Challenge, Emily and I both decided to do it while we were at the beach with our family. Yet again, I chose a recipe from Fresh Food Fast: Weeknight Meals. This time I chose to try my hand at cooking fish (flounder). Fish is a great source of lean protein, vitamins, minerals, and omega-3 fatty acids (which are good for heart health).

Meyer Lemon and Dill Fish Parcels

Ingredients:
  • 4 (6-ounce) halibut or flounder fillets
  • 1/2 teaspoon salt
  • 1/2 teaspoon ground black pepper
  • 8 Meyer lemon slices (2 lemons)
  • 1 Tbs butter, quartered
  • 4 tsps chopped fresh dill
Directions:
  1. Preheat oven to 375 degrees.
  2. Cut 4 (15-inch) squares of parchment paper. Fold each square in half. Open folded parchment paper; place 1 fillet near fold on each square.
  3. Sprinkle fillets evenly with salt and pepper.
  4. Top evenly with lemon slices, butter quarters, and dill.
  5. Fold paper; seal edges with narrow folds. Place packets on large baking sheet.
  6. Bake for 15 minutes or until paper is puffy and lightly browned.
  7. Place 1 packet on each of 4 serving plates, and cut open. Serve immediately.

This recipe was a cinch to make and I will definitely be making it again! I chose to serve it with some sweet potato fries and steamed broccoli.

Nutrition info:
- Calories: 235
- Fat: 5.6g
- Protein: 42g
- Carbs: 6g

Tuesday, May 24, 2011

Banana Chocolate Chip Muffins

Anyone who knows me, knows how much I love Starbucks! They have a banana chocolate chip muffin there that I absolutely love, so I just had to try to create my own.

Cast of characters:

  • 1 1/2 cups of mini chocolate chips
  • 1 3/4 cup all-purpose flour
  • 3/4 cup granulated white sugar
  • 1 tsp baking powder
  • 1/4 tsp baking soda
  • 1/4 tsp salt
  • 1 tsp ground cinnamon
  • 2 eggs, lightly beaten
  • 1/2 cup unsalted butter
  • 3 large ripe bananas, mashed
  • 1 tsp vanilla extract

Directions:
  1. Preheat Oven to 350 degrees.
  2. - Cut butter into small pieces and melt in the microwave (about 30-45 seconds should do it) and then set it aside to cool
  3. - In a large mixing bowl, mix together flour, sugar, baking powder, baking soda, salt, cinnamon, and nuts using a fork or a whisk. Set aside.
  4. - In a medium mixing bowl, combine the mashed bananas, eggs, melted and cooled butter, and vanilla.
  5. - Using a rubber spatula, fold banana mixture into your flour mixture just until combined. Do not overdo it because then you'll end up with tough muffins.
  6. - Spoon batter evenly into 12 paper-lined or greased muffin cups and bake for 18-22 minutes.
  7. - Allow to cool on a wire rack.

Nutrition Info:
Calories: 328
Fat: 15g
Carbs: 48g
Protein: 4 g

Monday, May 23, 2011

Zucchini Medallions with Parmesan Cheese


When I was in high school, this was one of my favorite things that my mom would make. So simple, but so tasty! Perfect as an appetizer or a side.

Ingredients:

  • 1 medium zucchini
  • Parmesan cheese
  • Olive oil cooking spray
Directions:
  1. Preheat oven to 450 degrees
  2. Line a cookie sheet with foil
  3. Cut zucchini into 1/4 inch thick slices (discard ends)
  4. Place medallions on lined cookie sheet without any overlap
  5. Quickly spray the tops of the medallions with the cooking spray
  6. Top each medallion with about 1/8 tsp of Parmesan cheese
  7. Bake for about 6-8 minutes
  8. Enjoy!
Nutrition Info:
Serving Size: 8 pieces
Calories: 60
Fat: 4g
Carbs: 4g
Protein: 3g
Servings of fruit/ veggies: 1

Sunday, May 22, 2011

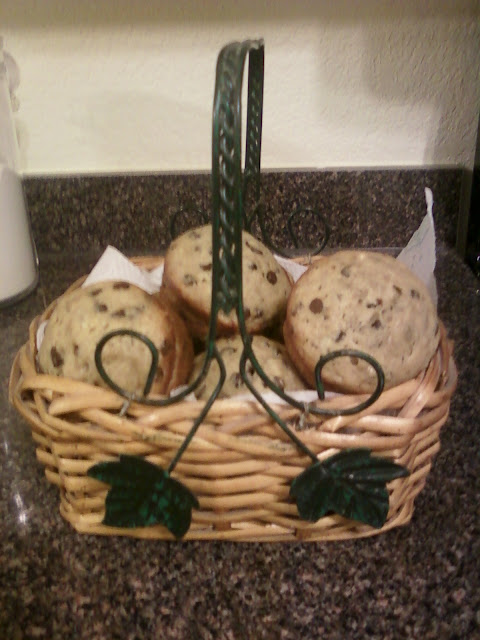
Chocolate Chip Cookies

In 1930, the chocolate chip cookie was invented by Ruth Wakefield at the Toll House Inn in Massachusetts. The story goes that one day she decided to add chunks of Nestle's Semisweet Yellow Label chocolate bar to her butter cookies. The cookies were an instant hit and Nestle went on to buy the right to the name "Toll House" and began printing Wakefield's cookie recipe on the back of their bags of chocolate chips.

It's taken some time, but I think I have finally found my favorite chocolate chip cookie recipe, and it happens to be very similar to the original recipe.

Ingredients:
  • 1 cup (2 sticks) of unsalted butter, room temperature
  • 3/4 cup granulated white sugar
  • 3/4 cup firmly packed light brown sugar
  • 2 large eggs
  • 1 1/2 tsp pure vanilla extract
  • 2 1/4 cups all purpose flour
  • 1 tsp baking soda
  • 1/2 tsp salt
  • 1 1/2 - 2 cups semi sweet chocolate chips
Directions:
  1. Preheat oven to 350 degrees and put rack in the center of the oven.
  2. In the bowl of your electric mixer, beat the butter until smooth.
  3. Add the white and brown sugars and then beat until fluffy.
  4. Beat eggs in one at a time. Be sure to beat well after each addition.
  5. Beat vanilla in until fully incorporated.
  6. In a separate bowl, combine flour, baking soda, and salt using a whisk or a fork.
  7. Add about half of the flour mixture to the egg mixture and blend well.
  8. Next, beat in your chocolate chips and then beat in the rest of your flour mixture.
  9. Place rounded tsp of dough on ungreased cookie sheet and bake for 9-14 minutes until brown around the edges.
If cookies are spread out too much while baking, make sure your cookie sheets are completely cooled before putting dough on them.

If the edges or bottoms of your cookies are burning, chances are your oven is too hot.

Happy Baking!

Sunday, May 1, 2011

Mini White Pizzas with Vegetables


I have decided to join my sister and her friends in their cookbook challenge this month. Every month, they choose a recipe from a cookbook that they already own, prepare it, and blog about it/ rate it. It just sounded like too much fun the I couldn't help but join in!

For my first post, I chose a recipe from Cooking Light's Fresh Food Fast: Weeknight Meals. As most of my friends know, I'm not really much of a meat eater, so I chose a recipe from the "Meatless Main" section.


Mini White Pizzas with Vegetables

Cast of Characters:

- 4 whole wheat pitas
- Olive oil-flavored cooking spray
- 1 medium zucchini, thinly sliced
- 1/4 cup thinly sliced red onion, separated into rings (I cut mine into quarters so they were easier to spread out evenly on the pita)
- 1/4 tsp black pepper (I don't like pepper, so I left this out)
- 1/8 tsp salt (left this out too)
- 1/2 cup light garlic and herb spreadable cheese (like Alouette Light)
- 6 Tbsp shredded Asiago cheese


Directions:
1. Preheat broiler
2. Place pitas on a baking sheet; broil for 3 minutes
3. Heat a nonstick skillet over medium0high heat; coat pan with cooking spray. Add zucchini, onion, pepper, and salt; saute 3 minutes or until vegetables are crisp-tender.
4. Spread 2 Tbsp of the garlic and herb spreadable cheese on each pita. Top each pita evenly with sauted vegetables and top with Asiago cheese.
5. Broil for 3 more minutes or until edges are lightly browned and cheese is melted.


After making these, I officially have a new dinner favorite! They didn't take longer than 20 minutes to make and they were so delicious. They're also pretty healthy!

Nutritional Info:
Calories: 290
Fat: 10 g
Carbs: 33 g
Protein: 15 g
Servings of fruit/ veggies: 1

Labels

Followers